How to Compare Ice Hockey Pads Before Buying
Compare ice hockey pads by checking fit first, then protection, mobility and compatibility with your gear. The right choice stays in place without restricting your skating or stickhandling.
The numbers
Ice time new pads need to break in
NCAA rink dimensions as nearly as possible
Minimum and maximum board height above the ice in NCAA rules
Start with the manufacturer’s sizing guidance, then try the pads on in your hockey stance. Check that they cover the intended areas and do not leave gaps when you move; a pad that feels secure standing still may shift once you skate.
Use the same movements to compare each pair: bend your knees, skate, turn and reach. Check comfort and coverage alongside the listed protection features, and make sure the pads work with your other equipment before buying.
| Criterion | What to check | Common snag |
|---|---|---|
| Coverage | Protection stays over its intended area while moving | Judging only in a standing position |
| Mobility | Normal skating, turning or stance remains comfortable | A pad shifts or restricts movement |
| Fit | Pad remains aligned through movement | Choosing by label instead of trying it on |
| Break-in | Allow 5-10 hours of ice time | Treating initial stiffness as settled fit |
| Construction | Compare foam and friction-related features | Assuming a named technology guarantees suitability |
How do you identify the pads you actually need?
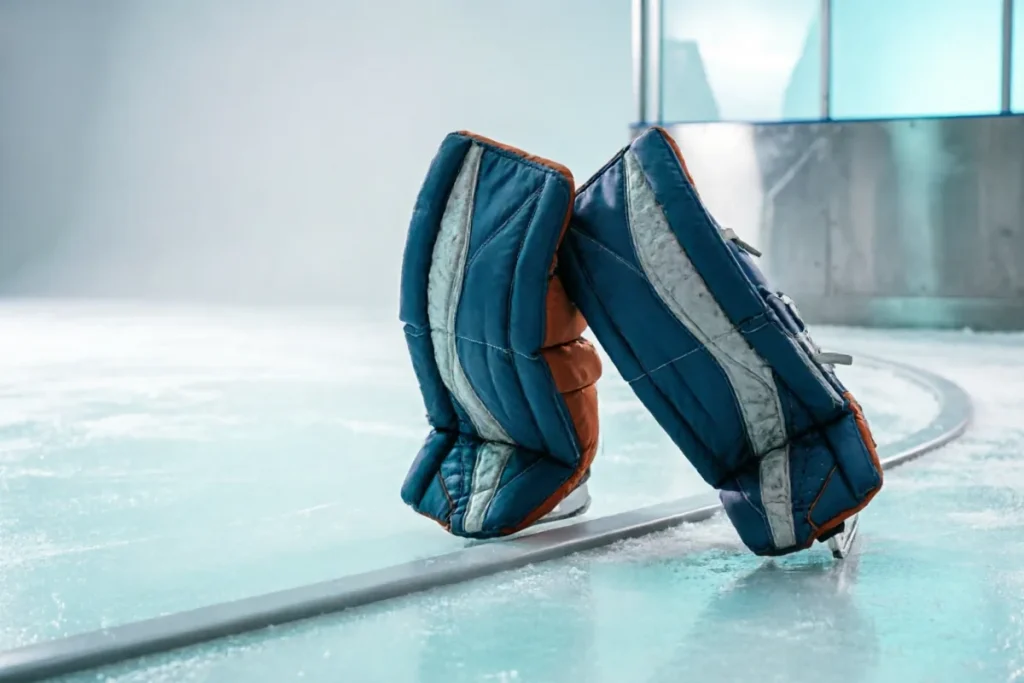
Identify whether you need goalie leg pads or skater protective pads first: goalie pads must cover the legs and stay aligned through a goalie’s stance and movements, while skater pads protect specific body areas without impeding skating or stick handling.
- Goalie leg pads: Check coverage in your stance, then move through the positions and motions you use in play to see whether the pads remain aligned.
- Skater pads: Check that the pad covers the body area it is designed to protect. Test your skating and stick handling to catch restrictions before buying.
- Protection and fit: Match protection to your strength and playing style. A label alone cannot tell you whether the pad’s construction and fit suit you.
Check the rink context
NCAA rules say rink boards should extend not less than 40 inches and not more than 48 inches above the ice. That standard describes the boards, not pad sizing; judge pad coverage and movement on your own body.
How should you test pad coverage and movement?
Test each pair by wearing it through your normal skating, turns and stance positions, then compare any shifting, gaps or restricted motion.
For coverage, check each pad while bending and extending, not only while standing still. The intended area should remain covered as your position changes; note where an edge moves away or a gap opens.
- Movement: Skate, turn and take your usual stance in each pair. Check whether the pad stays in place or limits your motion.
- Coverage: Bend and extend in each pair. Look for gaps and shifting as well as coverage when upright.
- Comparison: Repeat the same movements in every pair. This makes the choice about fit and mobility, rather than a brand’s coverage claim.
The NCAA’s 2024-25 and 2025-26 men’s and women’s ice hockey rules give rink context: a rink should be 200 feet long and 85 feet wide as nearly as possible. Those dimensions are not a pad-sizing formula.
How do fit and construction affect protection?
Fit and construction affect protection by determining whether a pad stays in place and keeps its protective area aligned with the body part it is meant to cover as you move.
Check alignment while skating, not only when standing still: a pad that shifts can leave its intended coverage out of position. Compare how each option feels through movement, including whether its structure supports you without restricting motion.
- Fit: Check that the pad stays secure and its protective area remains aligned during movement.
- CCM DUALITECORE: This is described as a dual-density foam system. Assess how the pad’s construction feels and supports movement on you.
- Cross Glide Technology: This is described as reducing friction and providing structural integrity. Treat those as design claims to test in motion, not proof of a universal fit.
Compare the materials and structure alongside the protection-level description. A named feature cannot tell you whether the pad stays correctly positioned on your body; your fit and movement test must answer that.
How do you compare break-in and expected wear?
Compare ice hockey pads by how they feel after break-in, not by their stiffness at the first fitting: new pads need 5–10 hours of ice time to form to your legs and playing style.
Use that time to check whether the pads stay aligned and let you move comfortably. Stiffer pads take longer to break in, so an initial sense of restriction is not a final verdict. Reassess fit and movement after use, and keep checking both as the pads settle.
- Break-in: Give new pads 5–10 hours on the ice, then judge comfort, alignment and movement.
- Stiffness: Expect stiffer pads to take longer to form; do not confuse first-fitting stiffness with settled fit.
- Wear: Consider replacement when the pads wear out. Your strength level and playing style affect how quickly that wear matters.
When do rink or league conditions change the choice?
Check the rules for your league before buying hockey pads, because equipment requirements can differ by competition.
NCAA rules describe the rink environment, not pad design: rink boards should extend not less than 40 inches and not more than 48 inches above the ice. Those measurements do not tell you which pad size or fit to choose.
When you play in different settings
- League requirements: Check the rules that apply to each competition where you play.
- Movement demands: Test the pads in the skating, stopping and positioning movements required in those settings.
- Personal fit: Choose pads to suit your body and position; rink dimensions and board height are not substitutes for fitting.
What mistakes make a pad comparison unreliable?
Pad comparisons become unreliable when brand claims, break-in differences, or technical features replace checks of fit, coverage, movement, construction and wear.
- Brand claims: Assess the pad itself rather than relying on marketing. Check that it covers the intended area, moves with your legs and fits securely; inspect its construction in person.
- Break-in: A new, stiff pad is not a fair match for one already formed to a player’s legs. Allow for the difference before judging comfort and movement; new pads need time on the ice to break in, and stiffer pads can take longer.
- Technical features: CCM DUALITECORE and Cross Glide Technology are not, by themselves, reasons to choose a pad. Whether either feature suits you depends on the pad’s fit and how it moves when you play.
- Replacement timing: Don’t rely on a guessed schedule. Inspect the pad for wear and consider your strength level and playing style when deciding whether it needs replacing.
Before comparing two models, check each pad’s fit and movement on you, and note its break-in state and visible wear.
Frequently asked questions
How long do new ice hockey pads take to break in?
What should I check when trying on ice hockey pads?
When should ice hockey pads be replaced?
Do CCM DUALITECORE and Cross Glide Technology mean a pad is right for me?
Sources
- klarna.com — “CCM Ice Hockey (50 products) compare prices today »”
- Getting Started with Hockey — “10 Things to Know Before Buying Synthetic Ice”
- Goalie Coaches — “Best Goalie Pads Reviewed [2026]”
- goaliemonkey.com — “How to Choose Goalie Pads: Fit, Flex, Style, and Skill Level”
- thehockeyshop.com — “Goalie Basics: How To Pick The Right Goalie Leg Pads”